
Before coming up with serious budget planning that would include three or four zeros to record in your dream studio with the coolest army of engineers, everyone needs to take the first step and record their ideas with what they have. And today you can do it well. Unlike some years ago, today’s creative minds have budget-friendly technology on their side. Easy-to-grasp interfaces, user-friendly applications, and approachable prices on pretty good gear make home studios a go-to for most indie musicians.
The key idea is to remember how many great recordings were done with what gear and how many years ago. The most expensive instrument sounds bad in the hands of a bad player. The same goes for your home studio gear as well. Having the most expensive equipment is not going to provide the solution just like that, and having the cheapest is not going to create all the problems either.
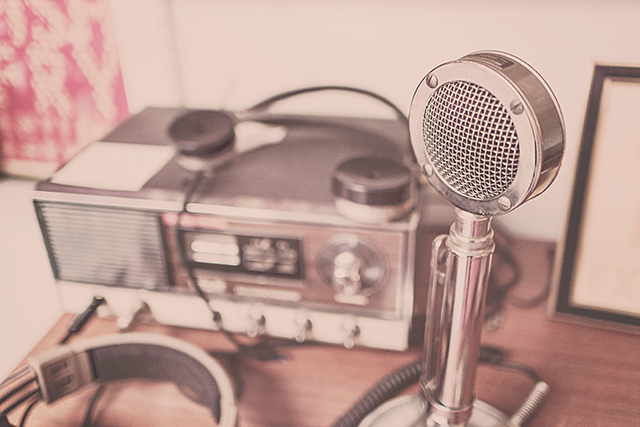
Once you start, you can upgrade bit by bit each of these items:
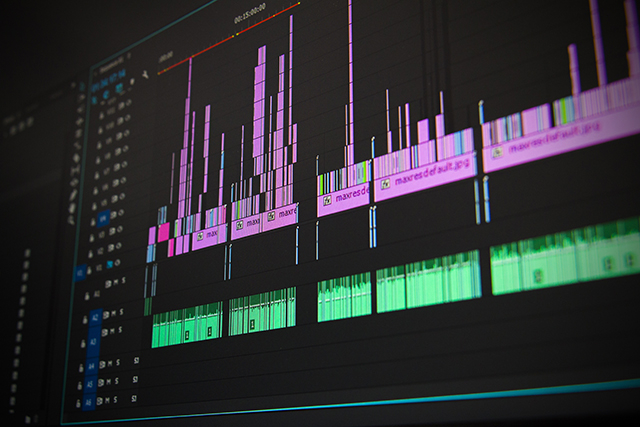
DAW (digital audio workstation):
For those on a tight budget, Reaper is one of the most user-friendly workstations that asks their users to financially contribute based on their idea of a user-karma. They trust their users and by the end of your first few sessions you will see how much the program is worth and when you can, you will not think twice about the payment.
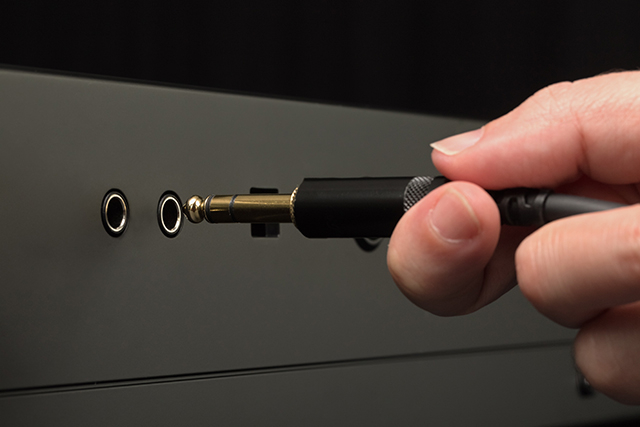
Audio interface:
These days many types of professional sound cards (audio interfaces) have the form of an external USB unit which makes things more practical than ever. This helps a lot with starters to invest in reliable sources. Even the cards meeting the older, “slow”, USB 1.1 specifications are capable of pretty high-quality sound. So make sure to check the second-hand market to see if there are some gems out there.
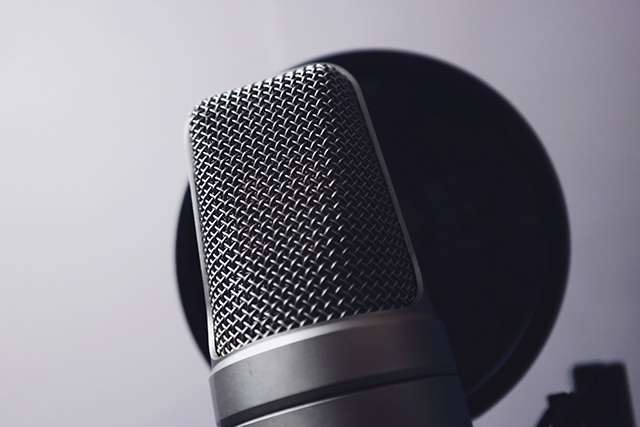
Microphones:
As the Peter Parker principle goes; “With great power comes great responsibility.” Sometimes for the very beginning, a low-end, less sensible microphone can be easier to manage. When you are embarking on your journey to the unknown lands of room acoustics, the most sensible microphone can frustrate you more than reward you. For your training purposes, it is a good idea to keep in mind to experiment with various gear instead of investing in that one expensive thing. Even starting with your smartphone’s microphone, you can experiment with what mic positioning can do to your recordings.
With that said, we enter into room acoustics. The acoustic treatment gives you control over the sound of your room while you are recording and listening. Recording in a treated room gives you a much easier sound to work with. The listening experience becomes entirely different in a treated room as well. Your gear can go from thick curtains that are not in use to custom-made acoustic isolation panels. Health tip: bedroom/studio owners, research well before going in the direction of glass wool. Make sure to read and grasp the physics behind the rules, and then start with what you have, think out of the box. Filling up the bookshelf behind you can change the sound more than you can imagine.

Headphones and speakers are there for you to finish the making of your sound creation. Your listening experience needs good end gear to make sure your mix is airtight indeed. But bear in mind, the first productions that will come from your home will firstly hit the smartphones and various wireless speakers of your friends and colleagues while you are showing your project around. Whichever type of headset or monitor you own, make sure to test your music on (relatively) cheaper devices as well.
And once your audio production is done, with our album cover library that grows hundreds of covers each year, we will cover the rest. (pun intended)

